
Fix Keurig flashing lights quickly! Learn the causes & solutions for Keurig machines. Get your coffee maker working again with our easy-to-follow guide.
Are you having trouble with your Keurig machine? Don’t worry, you’re not alone! Many Keurig owners have experienced the dreaded flashing lights, but don’t despair – there are some simple causes and fixes that can help you get your machine back up and running in no time.
So don’t throw in the towel just yet – read on to learn more about solving Keurig flashing lights!
Common Causes of Keurig Flashing Lights
Keurig flashing lights may have several causes, including a lack of power, a malfunctioning pump motor, a clogged water filter, or a blocked K-Cup holder.
In some cases, a procedure such as a reset or cleaning must be performed to address the issue.
The specific cause of the flashing lights will depend on the model of the Keurig machine and the nature of the problem.
Troubleshooting Steps for Keurig Flashing Lights
The first step in troubleshooting Keurig flashing lights is to check the power supply.
Make sure the power cord is securely connected to the outlet, and that the circuit breaker or fuse is not tripped.
If the power supply is secure, then the cause of the flashing lights may be a blocked K-Cup holder, a clogged water filter, a malfunctioning pump motor, or some other issue.
How to Reset a Keurig Machine
To reset a Keurig machine, first unplug the power cord from the outlet and then wait for at least one minute.
Next, plug the power cord back into the outlet and press and hold the power button for about 15 seconds.
The reset process may differ slightly among Keurig models, so refer to the manual for detailed instructions.
How to Clean a Keurig Machine
Cleaning a Keurig machine is an essential maintenance task that should be performed regularly.
To clean the machine, first remove the K-Cup holder and water reservoir, and then use a soft, damp cloth to wipe down the interior and exterior of the machine.
Descale the machine with a vinegar solution at least once a month, and replace the water filter every 30-60 days.
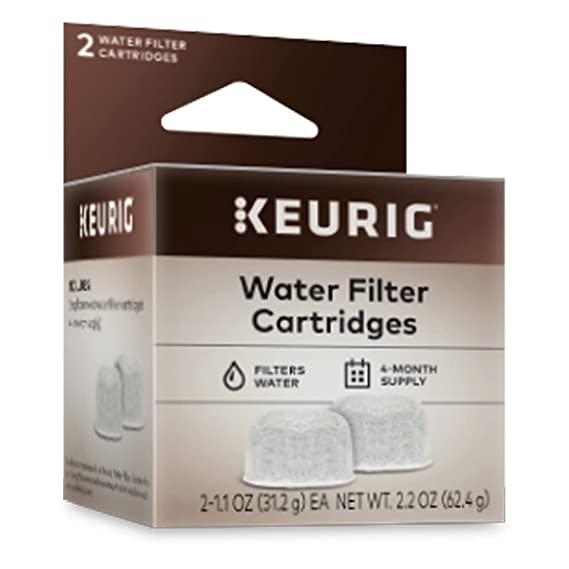
How to Replace a Keurig Water Filter
Replacing a Keurig water filter is a simple process that only takes a few minutes.
First, locate the filter holder in the water reservoir and remove it. Next, take the old filter out of the holder and discard it.
Insert the new filter into the holder, and then place the holder back into the reservoir. Finally, refill the reservoir with filtered water for the Keurig to use.
Frequently Asked Questions (FAQ)
What Causes Keurig Flashing Lights?
Keurig flashing lights can be caused by several possible issues. These include a clogged needle, a blockage in the water line, a power issue, an empty water reservoir, or a full K-Cup holder.
What Does It Mean When My Keurig Flashes Red?
If your Keurig is flashing red, it could be an indication of a power issue. It could also mean that the water reservoir is empty.
How Do I Fix a Keurig With Flashing Lights?
To fix a Keurig with flashing lights, first check the power supply and make sure the machine is plugged in and turned on. Then empty the water reservoir and re-fill it with fresh water. If the flashing lights persist, check the K-Cup holder and the water line for any blockages.
If these are clear, try descaling the machine.
How Do I Reset My Keurig?
To reset your Keurig, first unplug the machine and then plug it back in. Wait 30 seconds, then press and hold the “Brew” button for 3 seconds. This should reset the machine.
What Do I Do if My Keurig Won’t Brew?
If your Keurig won’t brew, first check the power supply and make sure the machine is plugged in and turned on. Then check the K-cup holder and the water line for any blockages. If these are clear, try descaling the machine.
If none of these solutions work, it could be a sign of a more serious problem and you may need to contact Keurig support.
What Is a Keurig Descaling Solution?
A Keurig descaling solution is a liquid that is used to remove lime scale buildup from inside the machine. Descaling should be done once every three to six months, depending on the water quality in your area.
How Do I Descale My Keurig?
To descale your Keurig, first empty the water reservoir and fill it with a descaling solution. Turn the machine on and let the descaling cycle complete. Once the cycle is finished, rinse the water reservoir and refill it with fresh water.
Run a few brew cycles with fresh water to remove any residual descaling solution.
Final Word
Solving Keurig flashing lights can be a daunting task, but with the right knowledge and tools, it can be done. By understanding the causes and fixes for Keurig machines, you can get your machine back up and running in no time.
With the right information, you can be sure to enjoy your favorite cup of coffee again soon.

My name is Michael Jones, and I’m a coffee enthusiast and expert based in the US. I run my own coffee shop, and I’m passionate about everything related to coffee. On my website, Coffee and Comfort, I share my knowledge and tips to help you elevate your coffee experience. Whether you’re a beginner brewer or a seasoned barista, I have something for everyone. I’ll teach you how to choose the right coffee beans, grind them perfectly, and brew a delicious cup of coffee at home. I’ll also share tips on how to make different coffee drinks, like lattes, cappuccinos, and espressos. But more than just teaching you about coffee, I want to help you create a coffee lifestyle that you love. Coffee is more than just a beverage; it’s a way to connect with people and enjoy the simple things in life.