Learn the secret to making creamy, foamy milk without a machine! Discover how to froth milk without a frother in just a few simple steps.
If you’re looking for a way to make your coffee drinks extra special without breaking the bank, then you’re in luck! You don’t need a fancy machine to make your milk frothy and foamy – all you need is a few simple tools and a bit of know-how.
In this article, we’ll show you the secret to frothing milk without a machine, so you can enjoy delicious coffee drinks without spending a fortune.
How to Froth Milk at Home: A Step-by-Step Guide Without a Frother?
Frothy, foamy milk can take your coffee beverages to the next level. You don’t need fancy equipment to make milk foam at home. With just a few simple tools and techniques, you can easily froth milk for delicious lattes, cappuccinos, and more.
The two keys to frothing milk are introducing air into the milk and heating the milk. This agitation and heating help create a rich, creamy foam.
Follow these simple steps for foolproof milk frothing:
- Start with cold milk. Whole milk works best, but you can use low-fat or non-dairy milk too. Pour cold milk into a sturdy container or jar – about 1/3 full. Leave room at the top for frothing.
- Use a milk frother, French press, or electric whisk. If you don’t have those, a regular whisk or even a spoon can work. The key is to introduce air into the milk by rapidly whisking or plunging.
- Heat the milk. You can use the microwave or stove. Heat milk to just below boiling, around 160-170°F. Heating too high will prevent froth formation.
- Rest the milk for a minute or two of heat. Let bubbles settle before frothing again.
- Froth the hot milk again. Rapidly plunge or whisk the milk for 15-30 seconds until a light, foamy texture forms.
- Use the frothed milk immediately before the foam dissipates. Pour gently into coffee beverages. Lightly swirl drinks for an artful finish.
With this easy technique, you can froth up milk at home for delicious speciality coffee drinks. Experiment with milk types and frothing tools to achieve your ideal foam consistency.
Preparing the Milk
Before you begin making your frothed milk, you should make sure that you have all the necessary ingredients. You’ll need milk, a stovetop and a whisk. If you are making a specialty drink, such as a flavored latte or cappuccino, you may also need other ingredients such as espresso, flavored syrups and sugar.
Start by pouring your desired amount of milk into a small saucepan. If you are making a flavored drink, be sure to mix in any syrups or other ingredients before beginning to heat the milk.
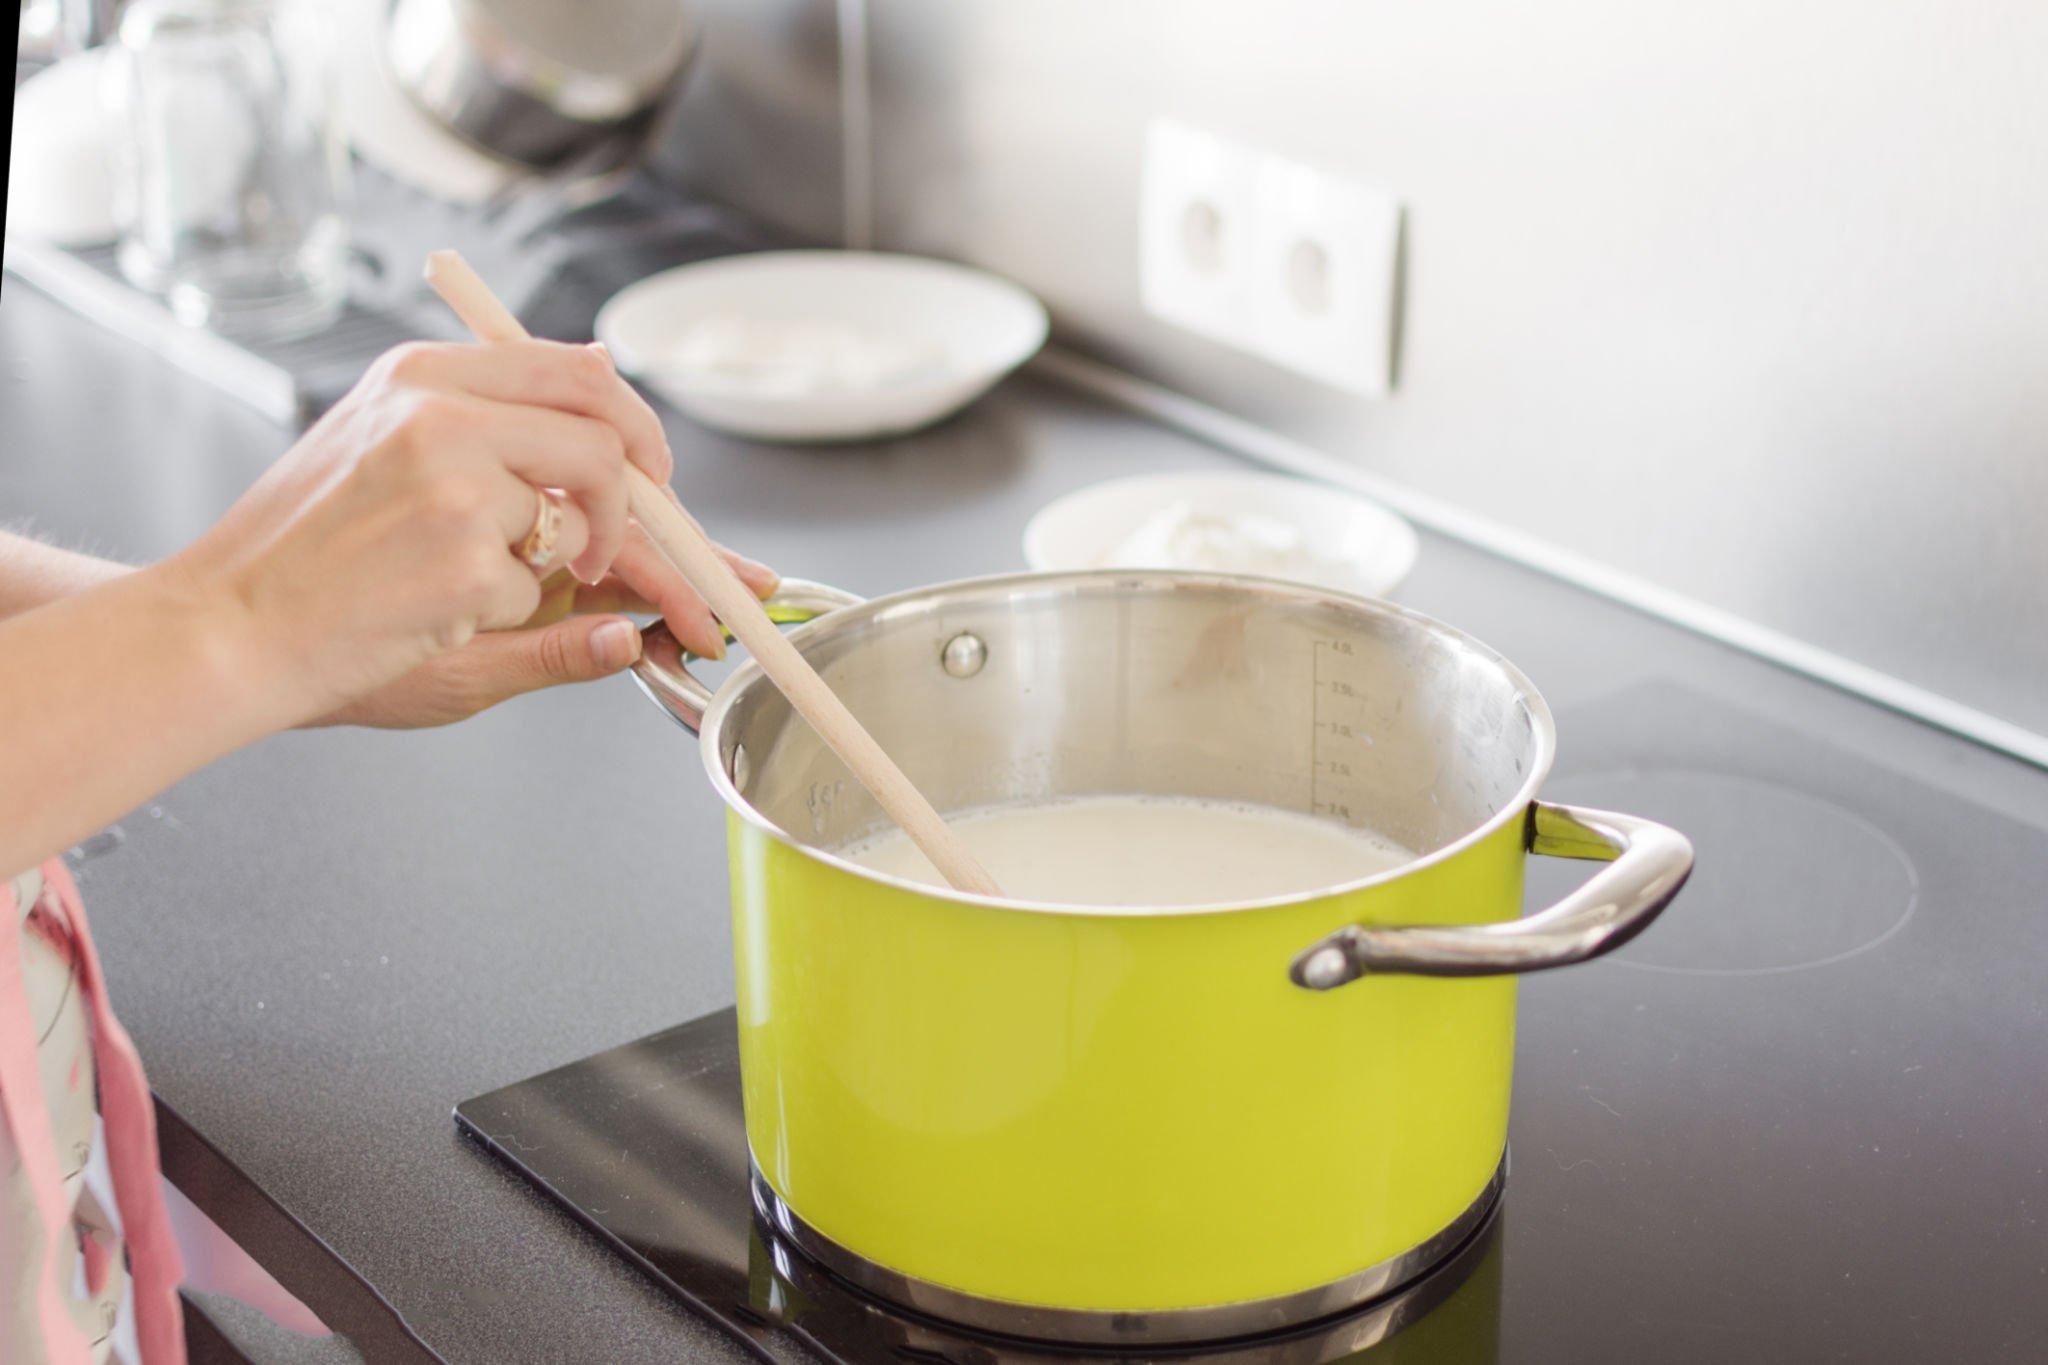
Heating the Milk
Place the saucepan over medium-low heat. Make sure to stir the milk occasionally to keep it from burning.
The goal is to heat the milk until it reaches a temperature of about 140°F. Be sure to check the temperature of the milk often, as this is what determines the quality of the foam.
If the milk is heated too long, it will start to scald, creating an undesirable taste. Once the temperature has been reached, immediately remove the saucepan from the heat.
Whisking the Milk
Once you have removed the milk from the heat, you are ready to begin whisking. You will need to vigorously whisk the milk in a circular motion until it reaches the desired frothy consistency.
It is important to whisk the milk quickly and continuously to ensure that it doesn’t become too hot.
Creating the Foam
Once you have achieved the desired frothy consistency, you are ready to create your foam. To do this, hold the saucepan in one hand and use the other to move the whisk in a circular motion.
Make sure to keep the whisk just below the surface of the milk as this will ensure that enough air bubbles are created to make the foam. Continue whisking until the foam reaches the desired consistency.
Finishing Touches
Once you have achieved the desired foam, you are ready to finish your frothed milk. You can pour the foam directly into your latte, cappuccino, or other specialty drink.
You can also top your drink with additional flavors such as ground cinnamon, cocoa powder or flavored syrups. Enjoy your delicious, frothy beverage
Frequently Asked Questions (FAQ)
Q1: What do I need to froth milk without a machine?
A1: You will need a jar, a whisk, and some milk.
Q2: How do I froth milk without a machine?
A2: Pour the milk into the jar and use the whisk to vigorously whisk the milk until it is foamy.
Q3: How long does it take to froth milk without a machine?
A3: It should take about 1-2 minutes of whisking to get the desired foam.
Q4: What type of milk should I use to froth without a machine?
A4: Whole milk or 2% milk will work best for frothing without a machine.
Q5: Can I use a blender to froth milk without a machine?
A5: No, a blender will not work for frothing milk without a machine.
Q6: Can I use a hand mixer to froth milk without a machine?
A6: No, a hand mixer will not work for frothing milk without a machine.
Q7: Is it possible to froth milk without a machine?
A7: Yes, it is possible to froth milk without a machine.
Final Word
Frothing milk without a machine is possible! With a few simple steps, you can make delicious, foamy milk without a frother.
All you need is a whisk, a bowl, and some patience. So go ahead and give it a try – you’ll be amazed at the results!

My name is Michael Jones, and I’m a coffee enthusiast and expert based in the US. I run my own coffee shop, and I’m passionate about everything related to coffee. On my website, Coffee and Comfort, I share my knowledge and tips to help you elevate your coffee experience. Whether you’re a beginner brewer or a seasoned barista, I have something for everyone. I’ll teach you how to choose the right coffee beans, grind them perfectly, and brew a delicious cup of coffee at home. I’ll also share tips on how to make different coffee drinks, like lattes, cappuccinos, and espressos. But more than just teaching you about coffee, I want to help you create a coffee lifestyle that you love. Coffee is more than just a beverage; it’s a way to connect with people and enjoy the simple things in life.